~/blog/homelab-infrastructure-overview
My Proxmox VE Homelab: Infrastructure Overview
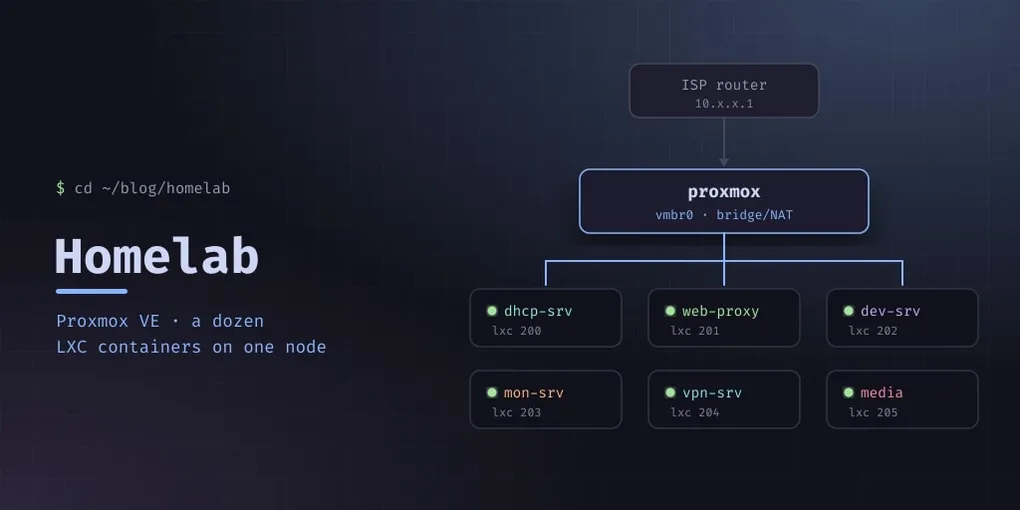
I’ve been building and securing my own infrastructure for years — starting with a single Raspberry Pi and growing into a full Proxmox VE cluster. What started as a tinkering project turned into a production-grade home lab that hosts this blog, development environments, media services, security monitoring, and a VPN endpoint.
This post is the high-level overview. Future posts will dive into individual components.
The Hardware
A single Proxmox VE node running on Debian 13 (Trixie) with the Proxmox VE kernel. The host sits on my home network with a static IP on a dedicated bridge interface.
CPU:   x86-64
RAM:   Enough for a dozen LXC containers
Disk:  Local LVM storage for container volumes
Network: Gigabit Ethernet, bridged
I opted for LXC containers over VMs for my infrastructure workloads. LXC is lighter, shares the host kernel, and boots in seconds. Each container gets its own filesystem, network namespace, and process space — enough isolation for a homelab where you trust the containers you build.
The Network Layout
All containers live on a private /24 subnet behind a Proxmox bridge. The gateway is the Proxmox host itself, which handles inter-container routing and provides upstream internet access through the home router.
                  ┌──────────────┐
                  │  ISP Router  │
                  │  10.x.x.1    │
                  └──────┬───────┘
                         │
                  ┌──────┴───────┐
                  │ Proxmox Host │
                  │  Bridge/NAT  │
                  └──────┬───────┘
                         │
              ┌──────────┼──────────┐
              │          │          │
         ┌────┴───┐ ┌───┴────┐ ┌───┴────┐
         │ dhcp   │ │ web    │ │ dev    │
         │ server │ │ proxy  │ │ server │
         └────────┘ └────────┘ └────────┘
A dedicated ISC DHCP server (covered in a separate post) handles IP allocation. Infrastructure containers get static reservations, while a dynamic pool covers ephemeral test containers.
Container Roles
dhcp-srv (10.99.99.2)
The DHCP server for the entire lab network. Runs ISC DHCP Server on Debian 13. All other containers get their IPs from here via static reservations. ~3 MB RAM.
web-proxy (10.99.99.11)
Reverse proxy and TLS termination. Routes external traffic to internal services based on domain names, handles Let’s Encrypt certificate provisioning via certbot. This is the only container exposed (via port forwarding) to the outside world.
mon-srv (10.99.99.10)
Security and observability, and by far the busiest container in the lab. Grafana, Loki and Prometheus, Grafana Alloy collecting logs from every machine, a CrowdSec instance, a camera NVR, and an ntfy server for push notifications. It uses the most RAM of anything here — around 1.5 GB, plus a few GB of logs on disk.
media-srv (10.99.99.13)
Jellyfin for films and series, and a torrent client feeding it, with the library on a shared mount. The one container the whole household notices when it is down.
dev-srv (10.99.99.20)
Development and build host. Node.js applications under PM2, mobile build toolchains, and the git working copies. This blog used to live here; it moved to the public server, and the copy left behind is one nothing serves — a leftover worth knowing about before you edit it.
vpn-srv (10.99.99.25)
The tailnet control server (Headscale) with a web UI alongside it. Every node joins here, then talks to the others directly — the control server is not in the data path.
wifi-ap (10.99.99.40)
The wireless access point, with the physical WiFi card passed through into the container. It runs hostapd, its own DHCP and DNS for the guest network, DNS-level ad blocking, and a VPN client that sends that network’s traffic out through the tunnel. The most exotic container here, and the subject of its own post.
ai-srv (10.99.99.30)
The automation host: an AI agent gateway with its own database, used to run and document the lab itself. Includes the Postgres instance the other services borrowed the habit of using.
Why LXC Over VMs?
I’m frequently asked why I chose LXC containers over full VMs for this setup. Here’s my reasoning:
- Boot time: Containers start in under a second. Full VMs take 30-60 seconds.
- Resource overhead: Each container adds ~50 MB of RAM overhead. VMs need a full OS — easily 512 MB minimum.
- Management:
pctcommands are simpler than VM management for single-service workloads. - Backup: Container backups are small, fast, and cheap on disk.
The trade-off is weaker isolation compared to a KVM VM. In a homelab environment where I’m the single operator and everything is on a trusted network, this is an acceptable risk. For multi-tenant or production scenarios, VMs (or Kubernetes) would be the right choice.
SSH Access Pattern
I don’t use password authentication anywhere. SSH keys are injected at container creation time via Proxmox’s --ssh-public-keys parameter, which writes the key during template extraction. This means:
- Every container gets my SSH key from day one
- No password prompts, no temporary credentials to rotate
- If a container needs to be rebuilt, it’s
pct destroy && pct createand I’m back in within seconds
Documentation
Every container, its IP, MAC address, purpose, and any quirks are documented in the lab’s infrastructure repository on GitHub. This is critical as the lab grows — I’ve lost count of how many times I’ve referenced it after not touching a container for six months.
Container IDs in Proxmox have no relation to IP addresses. I use a mapping document that looks like:
ID  │ Hostname    │ IP             │ Role
────┼─────────────┼────────────────┼──────────────
200 │ dhcp-srv    │ 10.99.99.2     │ DHCP server
201 │ mon-srv     │ 10.99.99.10    │ Monitoring
202 │ web-proxy   │ 10.99.99.11    │ Reverse proxy
...
What’s Next
This lab is a constant work in progress. Upcoming projects include:
- Proper inter-container firewall rules — the lab still runs on one flat subnet
- Automating container provisioning, so a rebuild is a playbook rather than a sequence of commands I half-remember
- Backups with an actual restore test. There is a working distance between “the containers are backed up” and “you have restored one recently”, and this lab is on the wrong side of it
- Documenting each service in detail — the DHCP, monitoring, VPN, WiFi and log-pipeline posts are the start
Stay tuned for deep dives into each component.